


Did you score an Instant Pot on Amazon Prime Days? Did you get one for Christmas and still haven’t used it yet? Check out my quick reference list of methods to use your IP to help you save money and time.
We are a participant in the Amazon Services LLC Associates Program, an affiliate advertising program designed to provide a means for sites to earn advertising fees by advertising and linking to Amazon. Thank you for your support!
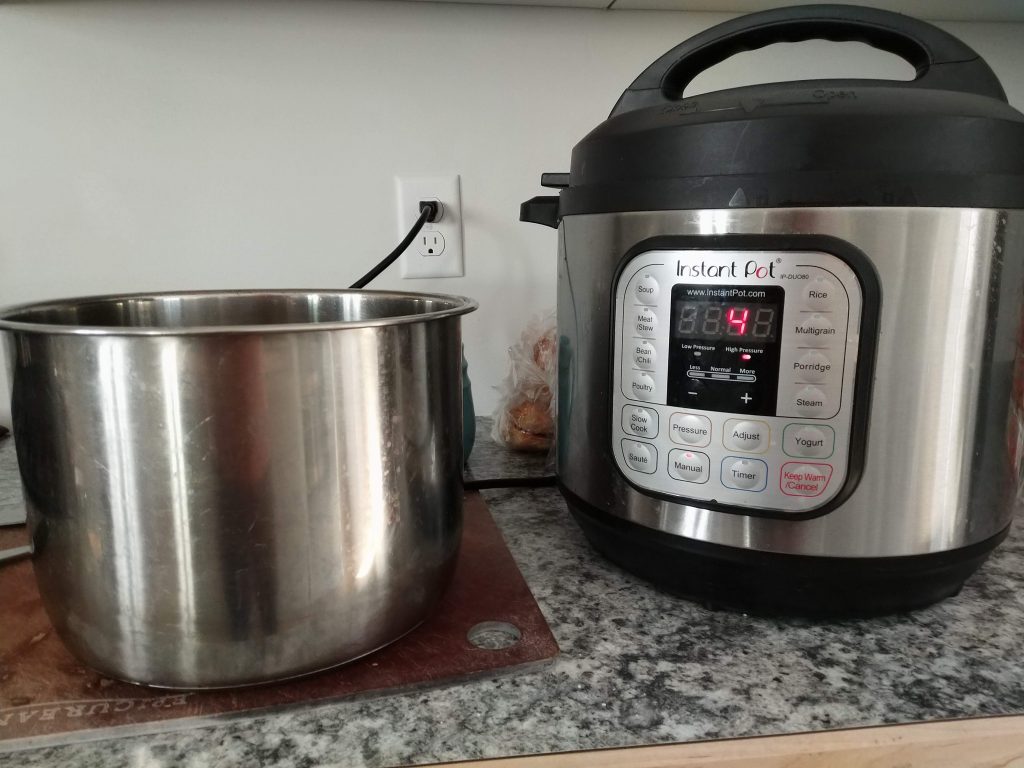
So you are the proud owner of an Instant pot (not an “instapot” as you’ll hear, minor pet peeve of mine) So what do you do with it? You open up the box and feel like a pilot in front of the dashboard of a plane with all of the buttons. Rest your weary head, don’t put it back in the box. I have some newbie tips to help you learn how to use this awesome tool.
You can use your IP to help you batch cook for your freezer! Here are three of my favorite ways to use my Instant Pot paired with my freezer to save me time and money. These are great methods to practice using your IP when you first get it.
Bone Broth
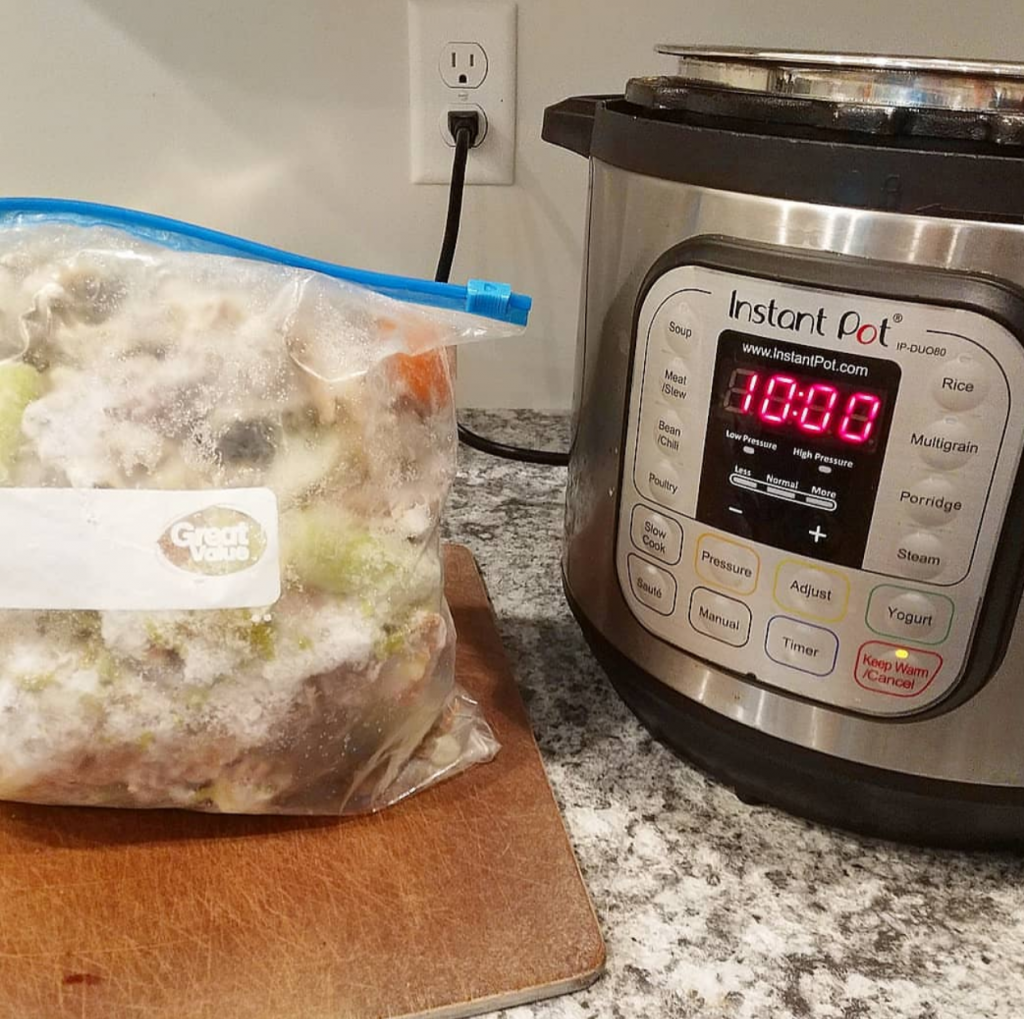
– save chicken bones from a couple of roasted chickens in a zip top bag in your freezer. I save beef bones if I make a roast (or if a family member makes one, I am somewhat of a scavenger) or grab them for a good price at the store. The method is the same for both types of broth.
-Put your bones in the Instant Pot, add in a few carrots, ribs of celery and an onion. Toss in a couple of bay leaves, some kosher salt (be careful not to add too much, a table spoon, is usually enough) and If I have them on my counter, I add in a few cloves of garlic too.
-Fill the pot with water to the line that says MAX. Put your cover on, turn the black vent knob on the top to “sealing”.
-Press “manual”, adjust the time to 75 minutes, press “manual” again and walk away! Should you be making this in the evening you can just use the slow cook option as well. Press “slow cook” adjust the time to 10 or so hours and walk away. You may have dreams that include food while you smell the deliciousness as you rest through the night.
– When it’s done cooking (if using manual mode), release the pressure (turn the black knob to “venting” take your pot out and let it cool a bit, strain the broth into another large pot.
-Let it cool down, this can take a while and I prefer not to put a huge pot of hot liquid into my fridge because of the space it takes up as well as dropping the temp of the refrigerator. In the winter I put it out in the garage.
-Whatever method you use to cool it down, wait until any fat has risen to the top and skim that off.
-At this point you can use the broth for a soup right away or divide it into glass jars or zip top bags.
Beans

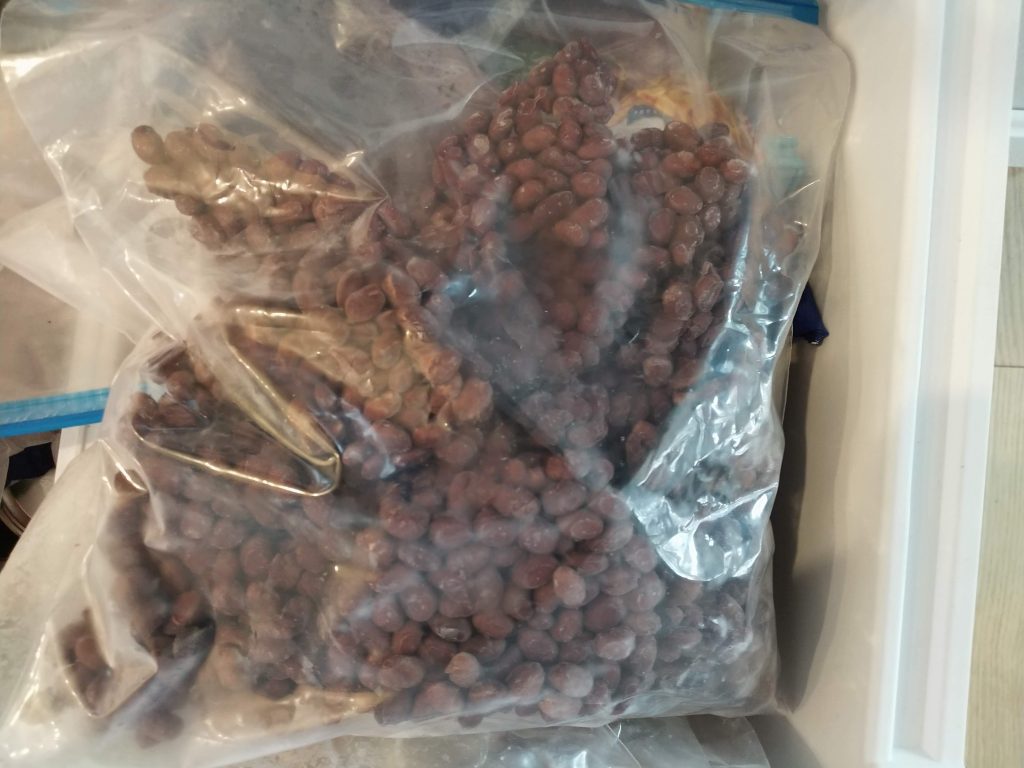
A super cost effective food is dried beans. When you need them for a specific meal in your meal plan, grab a bag of dried beans, black, kidney, white, norther, pinto, whatever you like.
-Pour the bag (1-2 pounds is good) into your Instant pot. Sort through them a bit to remove any stones or debris.
-Fill it up with water to cover the beans by a couple of inches. Cover your pot and turn the knob to sealing.
-Press the “manual” button and adjust time to 25 minutes. Press “manual again and walk away. I know there is a “bean setting” on the Instant pot but I have yet to use it except when recipe specifically calls for that option. I usually stick to manual high pressure for everything.
-Once the time is done let the pressure naturally release for 10-15 minutes then release any excess pressure.
-Drain the beans and use what you need for that night’s meal and lay the rest on a sheet pan to freeze.
-Once frozen, put them into a zip top bag so you can take what you need when your recipe is ready for it.
Yogurt
-Pour a gallon of milk into your Instant Pot.
-Press the yogurt button until it says “boil” place the lid on loosely. I like to use my instant read thermometer and set it to 180 degrees.
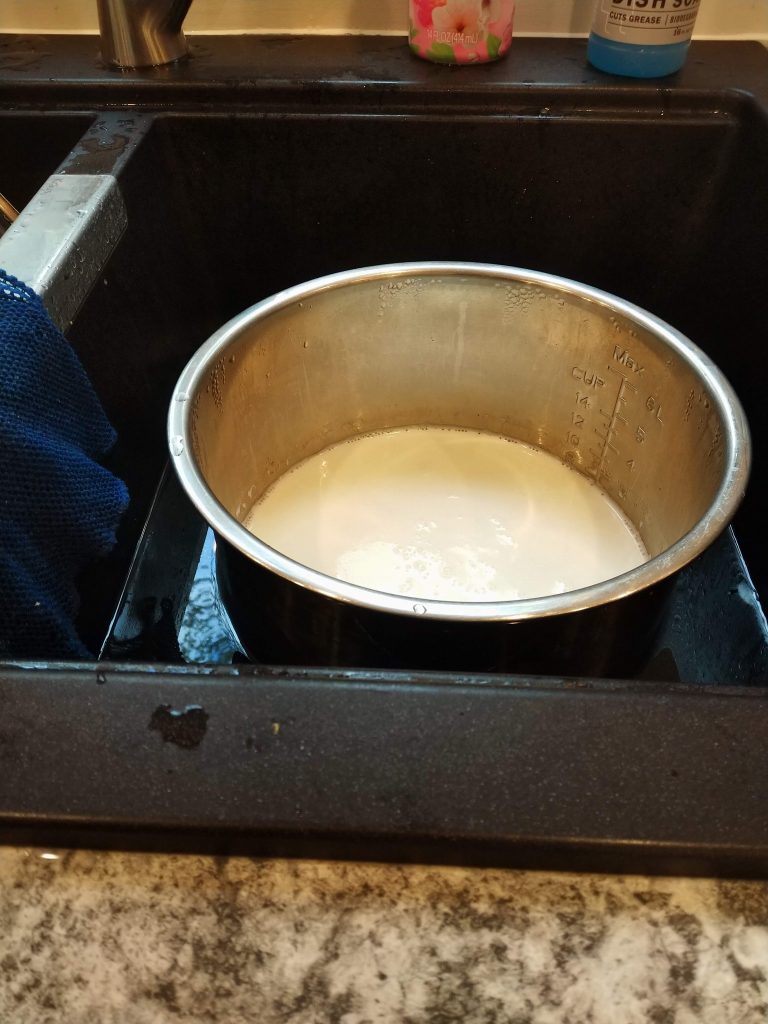
-Once it’s to temperature take the liner our and sit on the counter or to speed it up, in an ice bath in the sink.
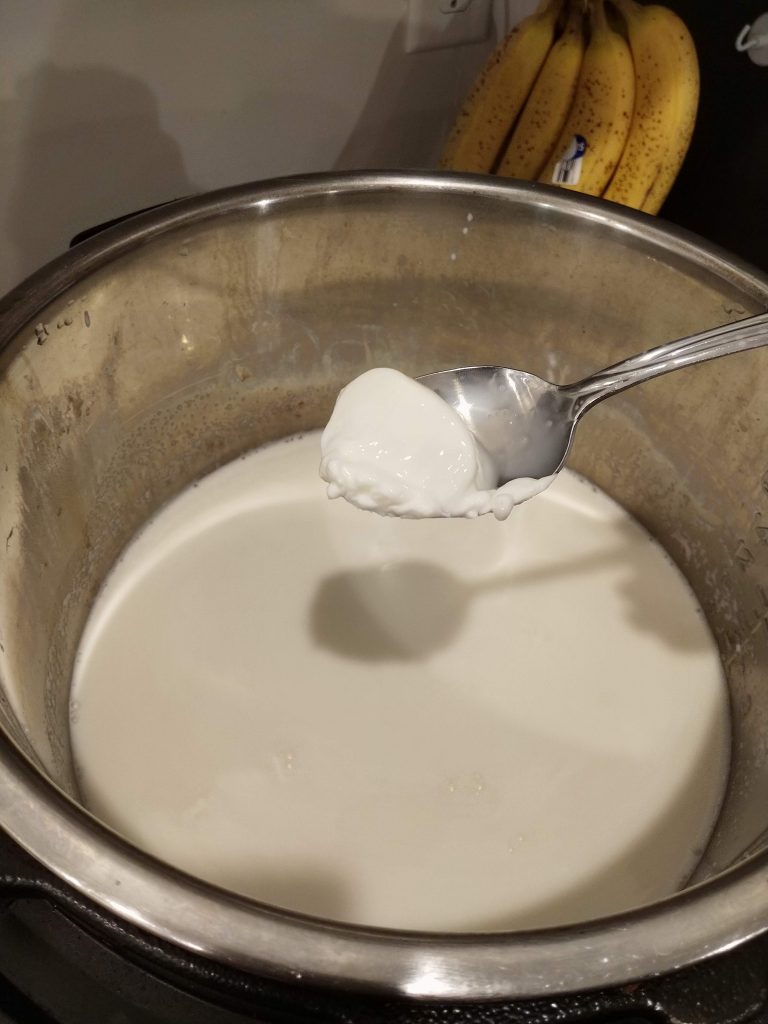
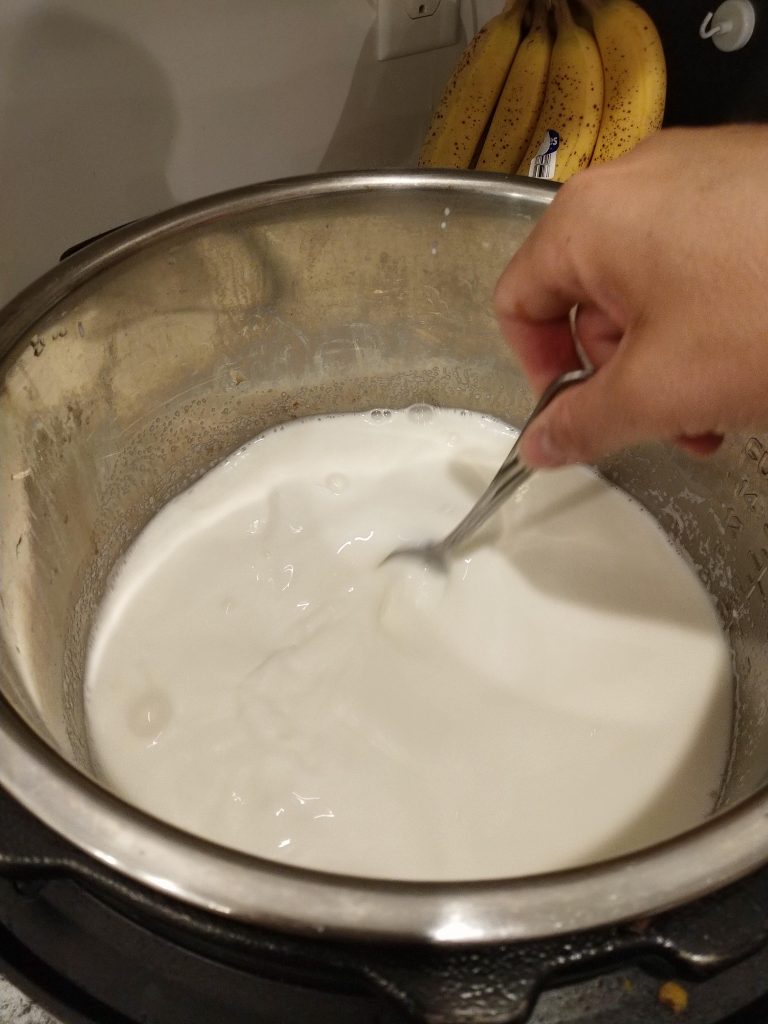
-When the temperature is down to 90 degrees or so put the pot back into the IP and whisk in 2 tablespoons of your starter yogurt. I buy a small cup of plain non fat yogurt or you can use the two tablespoons from your last batch of yogurt. Whisk that into the pot then put the lid on.
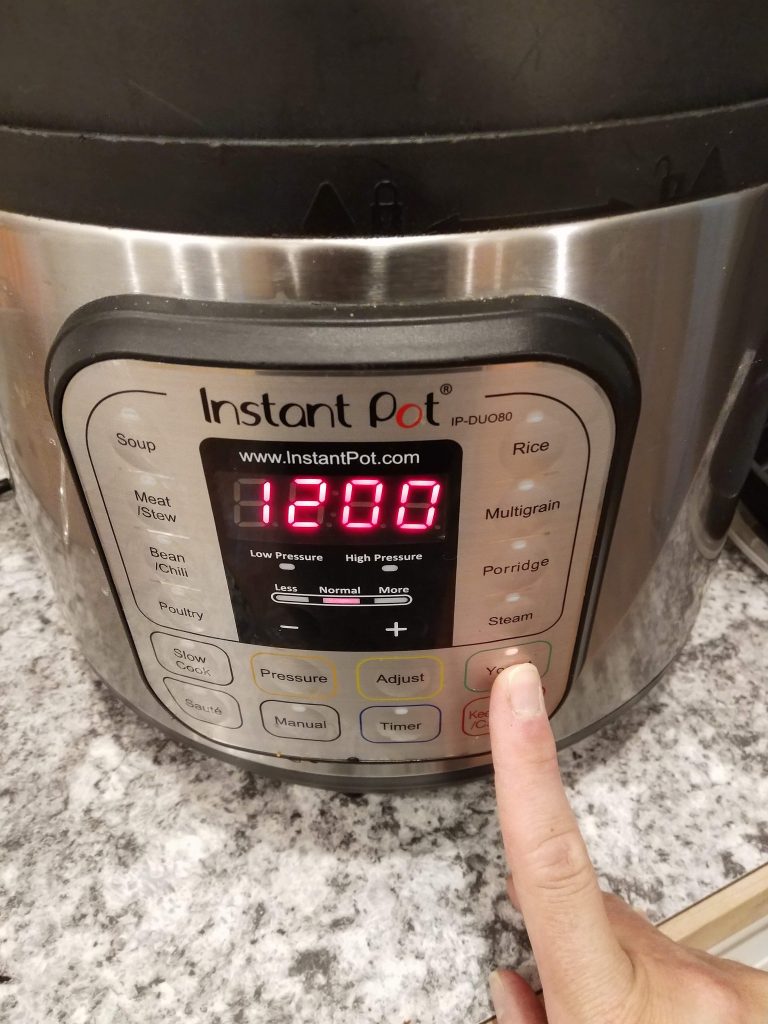
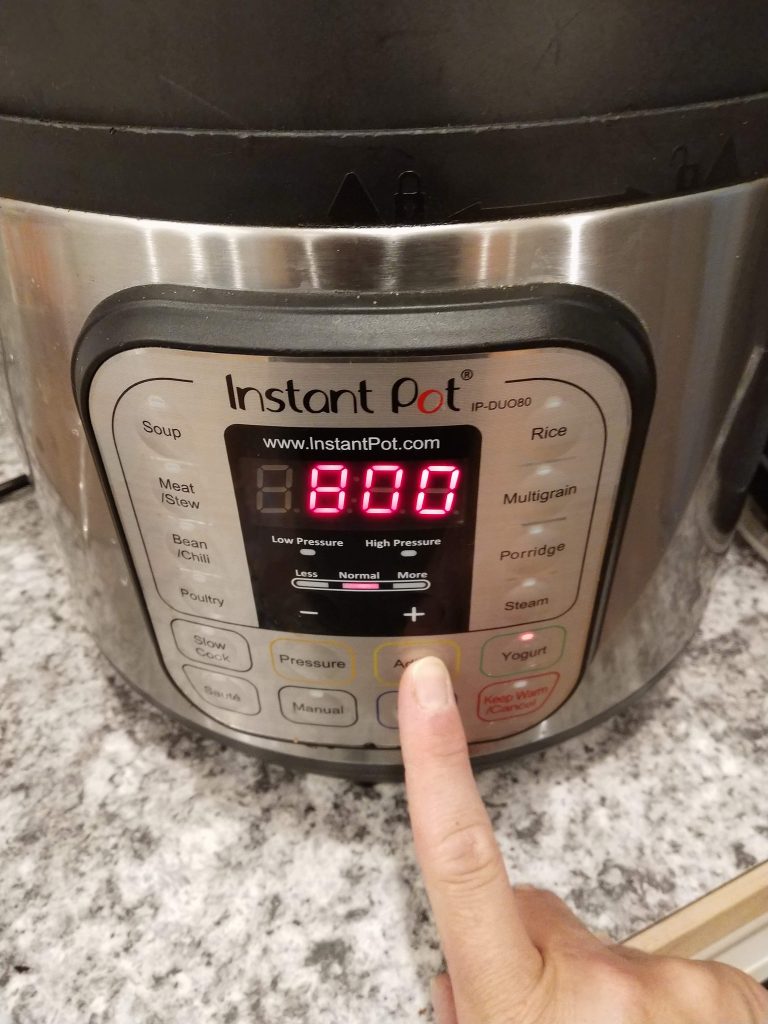
-Press the “yogurt” button until it gives you a timer and set the time to anywhere from 6-10 hours. The longer the time the tangier your yogurt will be.
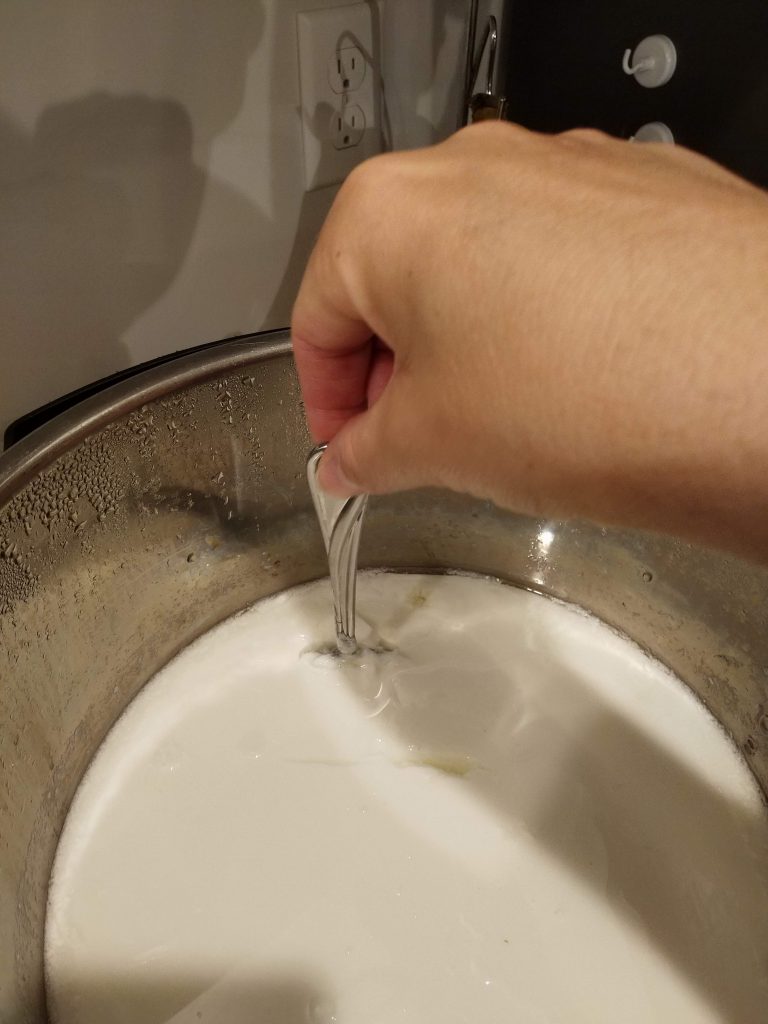
-See how you can stand a spoon up in the yogurt when the time is up. Ahhhh, sweet reward for your patience! After the time goes off, put pot into refrigerator to chill.
-If you are going to strain it to make Greek yogurt, I suggest doing this after it’s been chilled and using cheese cloth or my preferred method of a nut milk bag.
-Once it’s to the thickness you like transfer to glass jars or another container and store in your refrigerator.
Things to remember:
-Just because something can be made in the Instant pot doesn’t mean it is the best method to use. I eat eggs for breakfast just about every single day. If I don’t have them for breakfast, I have them for lunch. Seriously, I love eggs. I often boil eggs for myself and the boys and just use a pot on the stove. I know I can boil them in the Instant pot but honestly, I feel like the pot is easier. I love this little gadget that tells me what stage of cooking they are at. I like a really soft yolk where my boys prefer it a little more cooked. For me a pot on the stove is much easier to control when I take the eggs out at certain cooking stages.
-The time it takes to bring the pot up to high pressure is not included in the actual cooking time of a recipe. When you make cookies, the recipe says to cook them for 10-12 minutes or so. You don’t include the time it takes to preheat the oven, right? Same with the IP. In my experience if you are thinking to yourself “should I start cooking this meal in my Instant Pot now or wait a bit?” Go ahead and start it now, should it be down way sooner than you intended it’ll stay warm and be all set for you.
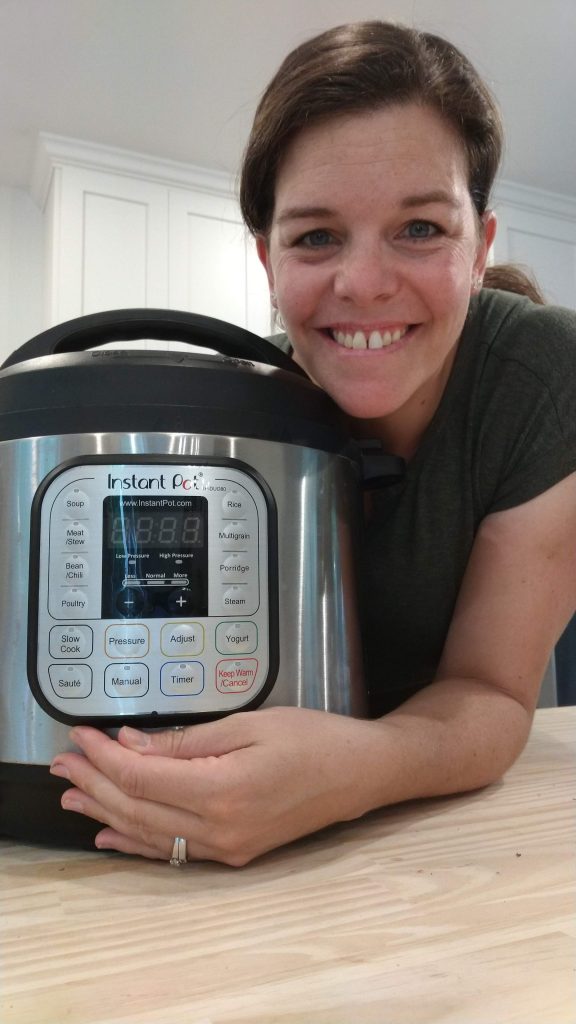
Below are links to several models, including the one I have, for Instant pots and Instant Pot accessories I use and love.


Nut Milk Bag for straining yogurt-


Its handy to have a second liner for your IP. For instance, you are chilling yogurt in your fridge but want to make that nights dinner in your IP. Total time saver!
If you read this post highlighting my favorite cookbooks you’ll read why I love this one from This Pilgrim Life


These are just two of my favorite ways to help me save time and money with my Instant Pot. I’d love to hear your ideas as well. Leave me a comment below and happy Instant Pot cooking! Dont be afraid of your new pot. Accept that there is a learning curve and practice with these starter recipes you’ll be cooking under pressure in no time!


These are great tips! Thank you for sharing them. I’ve had my instapot over a year but am still learning 😊
I love my instant pot! Thank you for these awesome tips and suggestions for ways to use it 😊
I don’t have an instapot yet and I’m totally wanting one now! Making yogurt in one sounds amazing and healthy!
TRUTH on the ‘should I wait to start or do it now’ point. 😉 And eggs, for sure. Unless I’m just swamped and wanting some for egg salad later, it is far faster to just put them on the stove top. Great post, thank you!
I love my Instant Pot! These are great beginning tips and ideas!
I LOVE my instant pot! I am planning on using it tonight for fish chowder. Loving your blog Melissa!!